
Champion Generator Maintenance: Essential Parts & Service Schedule

Champion generator maintenance is the foundation of reliable backup power. Champion Power Equipment builds some of the most popular portable and home standby generators in North America, but even the best engine needs regular care. Skipping routine Champion generator maintenance leads to hard starts, power loss, and premature engine wear. In this guide, you will learn exactly which parts to replace, when to replace them, and how to perform each service step safely. By following this Champion generator maintenance plan, you will extend engine life, improve fuel efficiency, and ensure your unit starts on the first pull every time you need it.
Many owners assume that occasional use keeps the engine in good shape. However, oil degrades, air filters clog, and spark plugs foul even when the generator sits idle. A structured maintenance kit and a clear schedule remove all the guesswork. Let us walk through the essential parts, the correct service intervals, and the warning signs that tell you it is time to act.

Why Champion Generator Maintenance Matters
Your Champion generator is an insurance policy against blackouts. When the grid fails, you expect it to fire up without hesitation. Unfortunately, neglected engines suffer from carbon buildup, degraded oil, and corroded ignition components. These problems do not appear overnight. Instead, they compound slowly until the day you need power most and the engine sputters or refuses to start.
Regular Champion generator maintenance prevents this scenario. Clean oil lubricates internal parts, a fresh air filter delivers the oxygen needed for complete combustion, and a new spark plug provides a strong, consistent ignition spark. Together, these simple tasks keep compression high, emissions low, and starting reliable. Furthermore, keeping a detailed service log helps preserve warranty coverage and can increase resale value if you ever decide to upgrade.
According to the U.S. Environmental Protection Agency, poorly maintained small engines emit significantly more pollutants than tuned units. A clean air filter and properly gapped spark plug reduce hydrocarbon emissions and improve fuel economy by up to 10 percent. That means Champion generator maintenance is not only good for your wallet but also better for the environment.
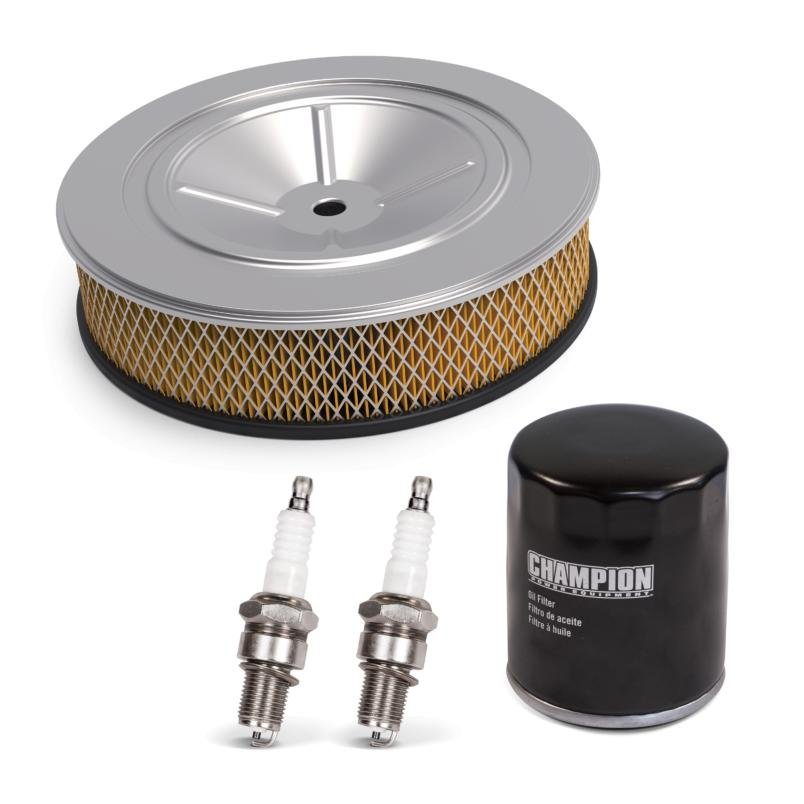
Essential Parts for Champion Generator Maintenance
Before you open the toolbox, gather the correct parts. Using off-brand or incorrect specifications can void your warranty and damage the engine. Below are the core consumables every Champion owner should keep on hand.
Engine Oil and Oil Filter
Champion engines typically call for SAE 10W-30 detergent oil for general use, or 5W-30 synthetic for cold-weather operation. Always check your operator manual for the exact viscosity recommendation. If your engine is equipped with an oil filter, replace it at every oil change. Running dirty oil accelerates wear on the crankshaft, camshaft, and piston rings.
Air Filter (Foam or Paper)
The air filter is your engine’s first line of defense against dust and debris. Champion generators use either a foam element, a paper cartridge, or a dual-layer design. A clogged filter chokes the engine, causing rich fuel mixtures, black smoke, and hard starting. Inspect the filter every 25 hours and replace or clean it as needed.
Spark Plug
The spark plug ignites the fuel-air mixture inside the combustion chamber. Over time, the electrode erodes and carbon deposits insulate the tip, weakening the spark. For most Champion generators, the recommended plug is an F7TC or equivalent. Replace it every 100 hours or once per season, whichever comes first.
Fuel Filter and Stabilizer
Ethanol-blended gasoline absorbs moisture and degrades within 30 days. A clogged fuel filter restricts flow and can cause surging or stalling. Replace the in-line fuel filter every 100 hours, and always treat fresh fuel with a quality stabilizer before storage. This simple step is often overlooked, yet it is one of the most effective ways to avoid carburetor problems.
| Part | Typical Part Number | Function | Replacement Interval |
|---|---|---|---|
| Engine Oil | SAE 10W-30 or 5W-30 Synthetic | Lubricates moving parts | First 5 hrs, then every 50 hrs |
| Oil Filter | 100817 or 201541 | Removes contaminants from oil | Every oil change |
| Air Filter (Foam) | 100802 or 100812 | Filters intake air | Every 25 hrs or season |
| Air Filter (Paper) | 100372 or 100817 | Filters intake air | Every 100 hrs or season |
| Spark Plug | F7TC or NGK BPR5ES | Ignites fuel-air mixture | Every 100 hrs or season |
| Fuel Filter | In-line per model spec | Cleans fuel before carburetor | Every 100 hrs or season |
Champion Generator Maintenance Schedule by Hours
Champion publishes hour-based service intervals that apply to most portable and home standby generators. Think of these milestones as non-negotiable appointments. The table below summarizes the factory-recommended schedule.
| Service Interval | Action Required | Why It Matters |
|---|---|---|
| Before each use | Check oil level, inspect fuel lines, test GFCI | Prevents low-oil shutdown and fuel leaks |
| First 5 hours | Change oil and inspect for metal debris | Removes break-in particles from new engines |
| Every 25 hours | Clean or replace foam air filter | Ensures proper air flow and combustion |
| Every 50 hours | Change oil and replace oil filter | Maintains lubrication and cooling |
| Every 100 hours | Replace spark plug, paper air filter, fuel filter | Restores ignition and clean air/fuel delivery |
| Every 200 hours | Inspect valve clearance, decarbon combustion chamber | Prevents power loss and hard starting |
| Annually | Full tune-up, battery test, fuel system inspection | Catches issues before they become failures |
If you operate your generator in dusty, hot, or high-humidity conditions, cut these intervals in half. Construction sites, agricultural settings, and coastal environments introduce abrasive dust and salt that accelerate wear. In these cases, Champion generator maintenance becomes even more critical.
Step-by-Step Champion Generator Maintenance
Now that you know what to replace and when, let us cover the actual procedure. Always allow the engine to cool for at least 15 minutes before servicing. Work in a well-ventilated area away from open flames.
Step 1: Change the Engine Oil
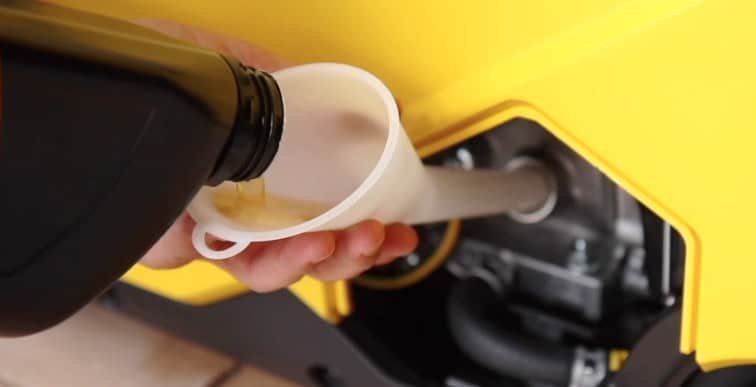
Place the generator on a level surface. Remove the oil fill cap and tilt the unit toward the drain side, or remove the drain plug if equipped. Allow the old oil to drain completely into a catch pan. Refill with the correct type and volume of fresh oil. Check the dipstick and add slowly until the level reaches the full mark. Wipe away any spills to prevent smoke on restart.
Step 2: Replace the Oil Filter
If your engine has a spin-on oil filter, remove it with a filter wrench. Lubricate the rubber gasket on the new filter with fresh oil, then thread it on by hand until snug. Tighten an additional three-quarters of a turn. Do not overtighten, or you will struggle to remove it later.
Step 3: Service the Air Filter
Remove the air filter cover. For foam elements, wash in warm soapy water, rinse thoroughly, and allow to dry. Soak the clean foam in clean engine oil, then squeeze out the excess. For paper cartridges, simply replace the element. Never attempt to clean a paper filter with compressed air, as this can create holes that let dust into the engine.
Step 4: Replace the Spark Plug
Remove the spark plug boot, then use a socket wrench to unscrew the old plug. Check the electrode gap on the new plug with a feeler gauge. Most Champion plugs require a 0.028 to 0.031-inch gap. Thread the new plug by hand to avoid cross-threading, then tighten to the torque specification in your manual. Reattach the boot firmly.
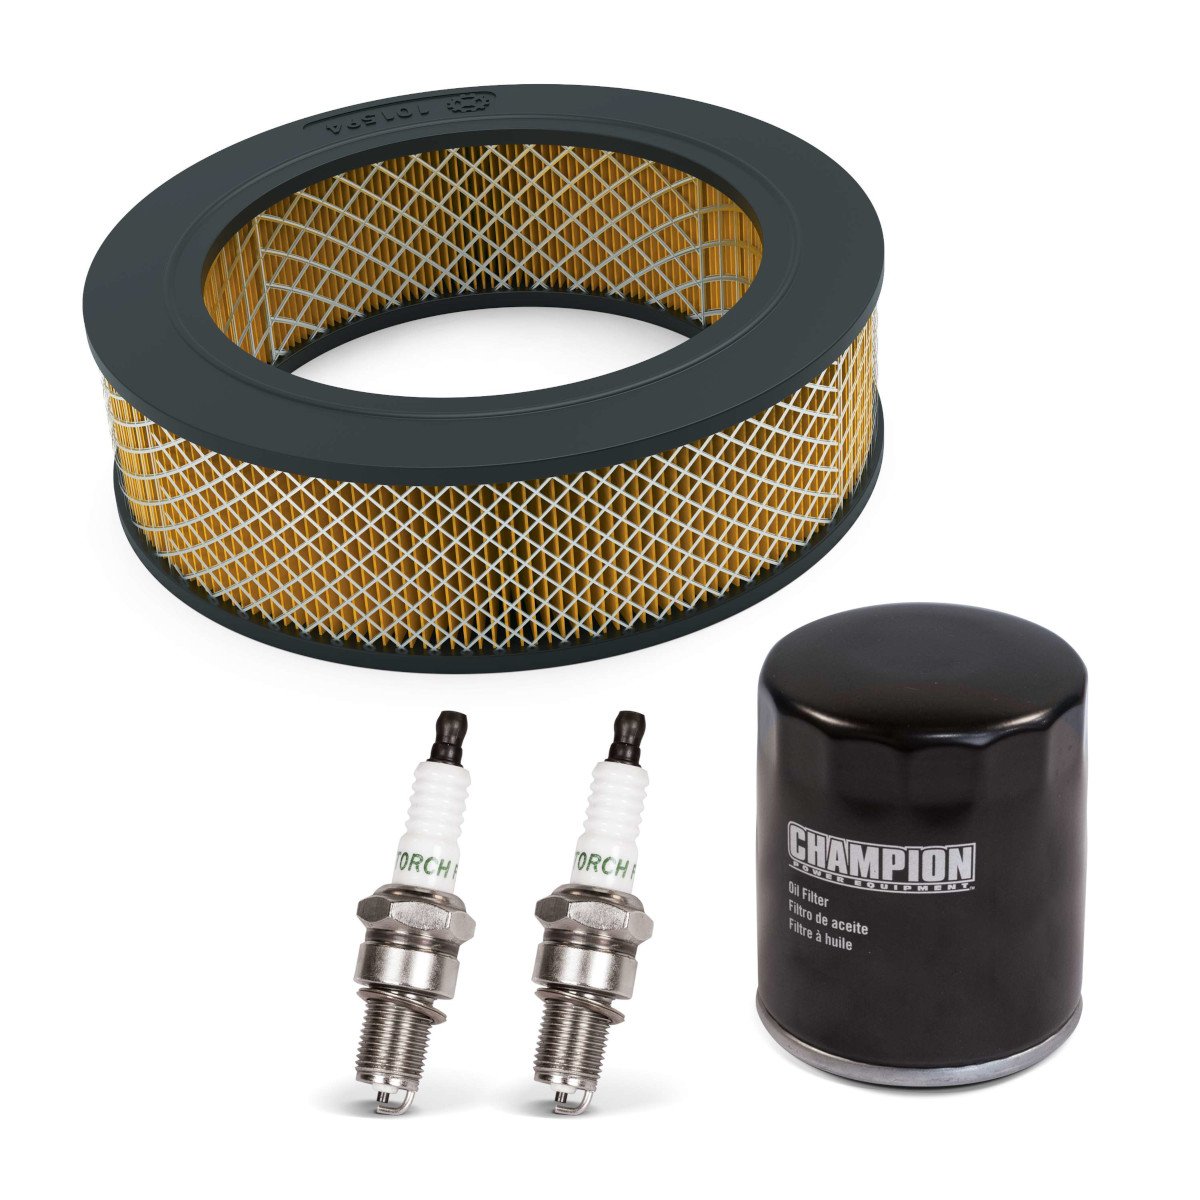
Step 5: Inspect and Replace the Fuel Filter
Locate the in-line fuel filter between the tank and carburetor. Use pliers to release the spring clamps, then slide the old filter free. Install the new filter with the arrow pointing toward the carburetor. Tighten the clamps and check for leaks by running the engine for a few minutes.
Step 6: Run and Verify
Start the generator and let it run for 10 minutes under no load. Listen for smooth idle, watch for oil leaks, and verify that the output voltage is stable. If everything checks out, log the service date and hour meter reading in your maintenance notebook.
Warning Signs Your Champion Generator Needs Service
Even with a schedule, your generator may signal trouble between intervals. Pay attention to these symptoms and address them immediately.
- Hard starting or no start: Often caused by a fouled spark plug, stale fuel, or clogged air filter. Start your Champion generator maintenance with these three items.
- Black exhaust smoke: Indicates a rich fuel mixture, usually from a dirty air filter or choke stuck closed.
- Surging or irregular idle: Typically points to a restricted fuel filter, dirty carburetor, or water in the fuel.
- Oil consumption: Blue smoke or low oil between changes suggests worn piston rings or valve seals. This requires professional diagnosis.
- Unusual knocking or rattling: Could indicate loose mounting bolts, a damaged muffler, or internal engine wear. Shut down immediately and inspect.
If you notice any of these warning signs, perform a full tune-up before the next outage. Catching problems early is always cheaper than rebuilding an engine.
Frequently Asked Questions
How often should I perform Champion generator maintenance?
Follow the hour-based schedule: first oil change at 5 hours, then every 50 hours. Replace the air filter every 25 to 100 hours depending on type, and replace the spark plug and fuel filter every 100 hours or annually.
What oil should I use for my Champion generator?
Use SAE 10W-30 detergent oil for general use, or 5W-30 synthetic for colder climates or year-round operation. Always confirm the exact recommendation in your operator manual.
Can I use aftermarket parts for Champion generator maintenance?
Yes, provided they meet or exceed OEM specifications. However, genuine Champion parts are engineered for exact fit and performance. Universal Generator Parts stocks both OEM and high-quality aftermarket options.
Why does my Champion generator smoke after an oil change?
Residual oil on the exterior or a slightly overfilled crankcase can burn off and create smoke. If smoking persists, check the oil level and ensure the correct viscosity was used. Thick oil in cold weather can cause temporary smoking.
How do I know if my air filter needs replacing?
Hold the filter up to a light source. If you cannot see light passing through a paper element, replace it. For foam elements, wash and re-oil them every 25 hours, or sooner if they appear saturated with dirt.
Where can I find the correct maintenance parts for my model?
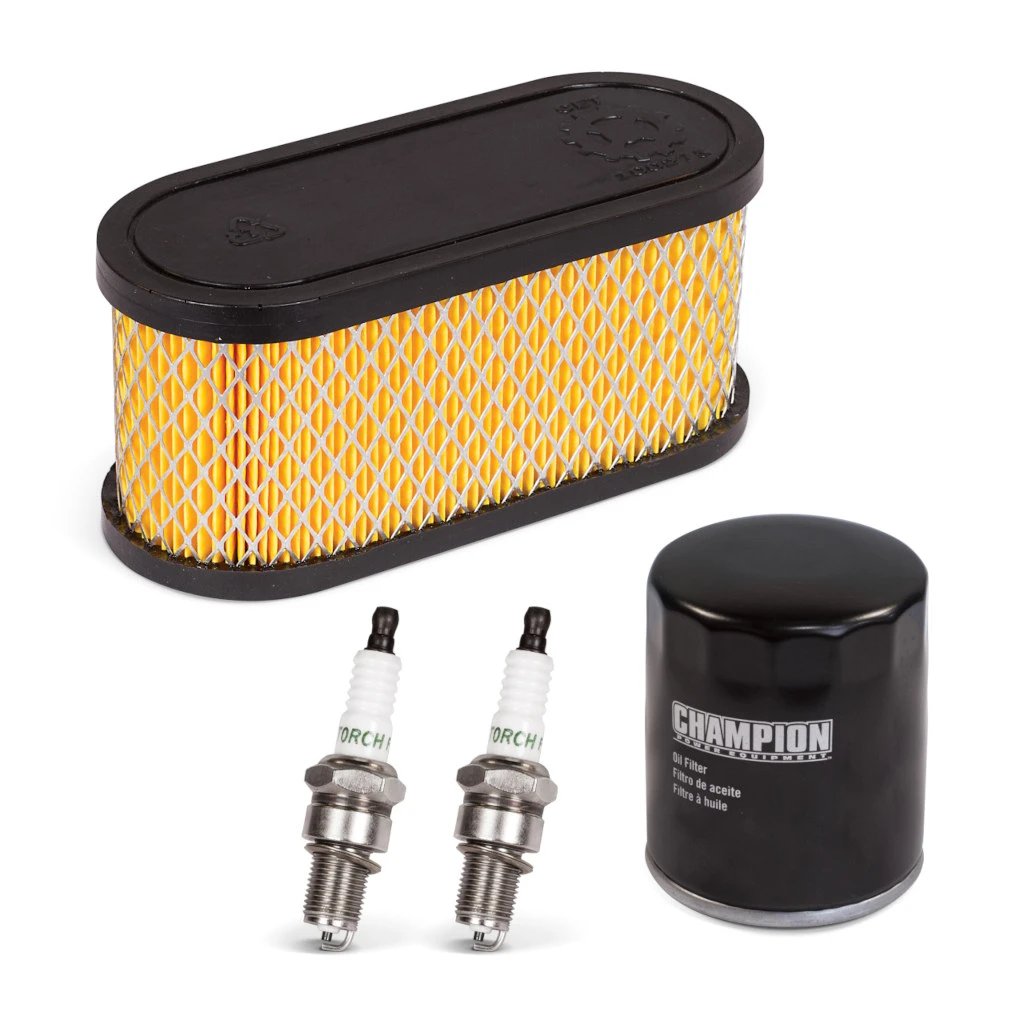
Visit ugpus.com and enter your model number. We carry air filters, oil filters, spark plugs, and complete maintenance kits for every major Champion generator series.
Should I drain the fuel for seasonal storage?
Yes. Run the generator until the tank and carburetor are empty, or add a fuel stabilizer and run the engine for 10 minutes to circulate it. Stale fuel is the leading cause of hard starts after storage.
Keep Your Power Ready with Regular Champion Generator Maintenance
Champion generator maintenance is not complicated, but it does require consistency. By following the hour-based schedule, using the correct parts, and watching for early warning signs, you will keep your generator reliable for years. Remember to change the oil, clean or replace the air filter, install a fresh spark plug, and treat your fuel. These four habits form the foundation of every successful maintenance program.
Do not wait for the next storm to discover that your generator needs service. Start your maintenance routine today, stock a spare maintenance kit, and log every service date. Your future self will thank you when the lights go out and your generator starts on the first pull.
Find OEM and aftermarket maintenance kits, air filters, spark plugs, and oil filters for every Champion model.
Browse Maintenance Kits